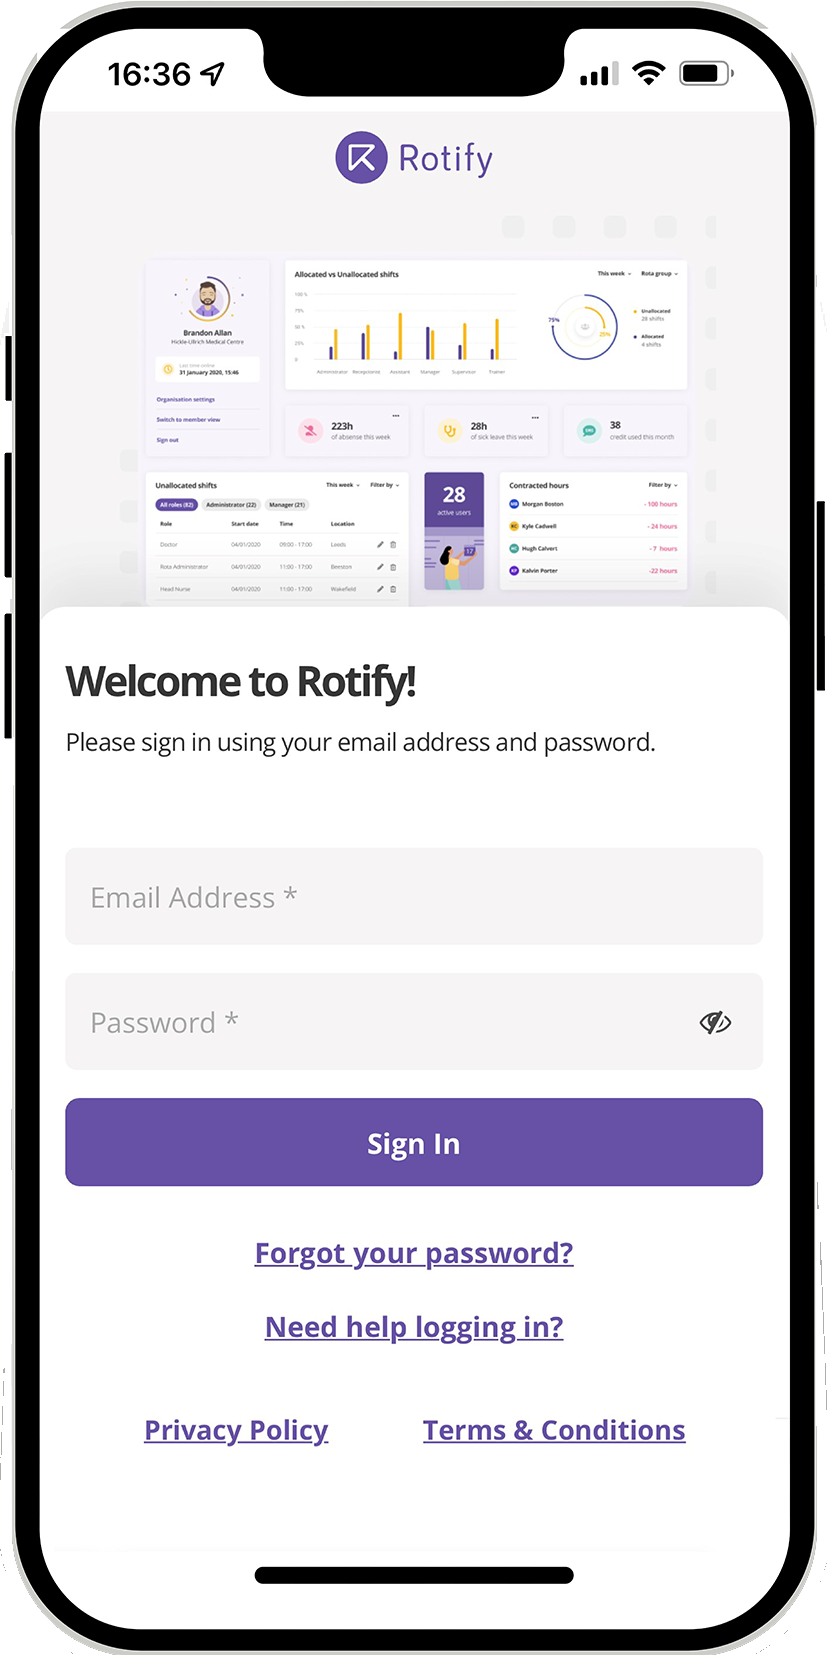
How to build a rota in 5 easy steps
When you’re managing a wide variety of staff who all work different hours and shift patterns, rota building can be time-consuming and a bit of a headache.
Before we get on to building let’s take a look at what makes a good rota…
Quick and Easy – First and foremost, your rota should be quick and easy to build. Whether you’re in the health and care sectors, hospitality or retail, rota planning can be one of the most time-consuming admin tasks of the week. If you can streamline this process, you’ll save your team hours of time so they can focus on the important things.
Efficient – Your rota should reflect a good range of skills which means you need the right mix of experienced staff on each shift that work well together. Always make sure your teams are carefully planned to ensure staff members aren’t overworked and keep your business running smoothly.
Accessible – It’s important that your rota is readily accessible for both management and your shift-workers. Having easy sight of a rota means less calls to find out when staff are working, and also means that any changes that need to be made can be spotted as early as possible.
Prompt – Depending on your business, we would recommend building your rotas as ahead of time as you can and sending these out to your team with 2 weeks’ notice. Being ahead of the game gives you enough time to deal with any issues, and staff are more likely to commit if they know well in advance.
So how do you go about building your first rota?
- Gather employee details The first thing you’ll need to do is collect together your staff information containing their working hours, patterns, availability and leave requests. Depending on the process you use, these might be scattered across multiple spreadsheets, or might be readily available all in one place if you’re using an online rota system.
- Plan your week Spend some time initially working out what it is you need for that week and build a schedule of shifts that you can fill. Remember to take into account any busy periods you’ll need extra cover for or any quieter periods where you can free up some of your team. If your schedule tends to look similar from week to week, you’ll be able to use this as a template going forward to save time.
- Assign some shifts Now you’ve got your shift pattern ready, it’s time to fill it! It’s up to you how to do this – you might want to assign staff to particular shifts or allow them to select their own shifts. Make sure you’re only assigning your team against times they can work – putting them down for shifts they can’t work can cause unhappiness and ultimately changes will have to be made. Also keep in mind your team’s contracted hours and ensure the rota allows them to stick to it. This can be tricky to manage if you’re using something like excel to build your rota, but good online rota tools will automatically tell you if you exceed this and keep a track of it for you.
- Send it out! As we said above, we’d recommend sending your rota out to employees with at least 2 weeks’ notice. This allows your team to check their schedules and plan around it. It’s an important part in keeping employees happy and saves time on any last-minute changes.
- Be flexible Last-minute leave requests and shift changes are to be expected and you need to be prepared for things to change. Again, this can be a bit of a nightmare if you’re using excel or similar but is really easy with online rota software like Rotify.
More News


